Easy to assemble shed kits
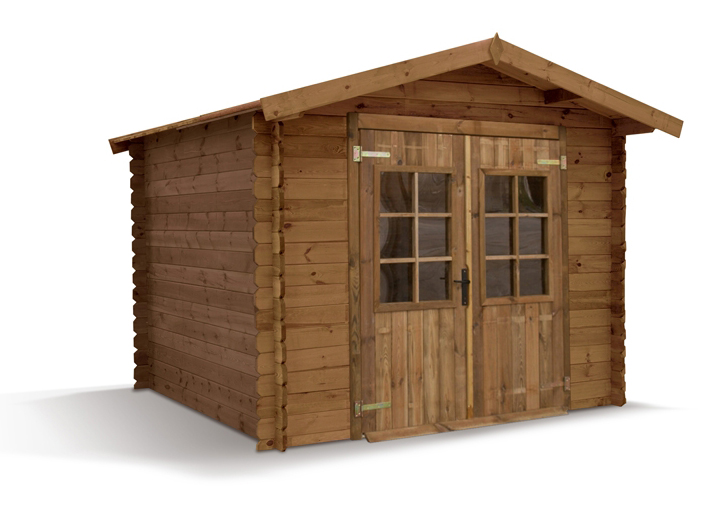 We created our sheds as DIY project for everyone. It’s easy and fun to do and only basic tools are required. The separate parts aren't heavy and it takes approximately 8 hours for two people to build a 10’x10’ shed if you are doing it a first time. If you still think that it’s too difficult, the average Lego game for 5 year-old has more pieces than our kit. Once you group everything you will see that there are only 7 groups of boards like floor boards, wall boards, roof boards, roof beams, and doors with windows.
Every kit comes with an easy to follow manual. We created a general video to show you how to do it. You can also follow step by step garden shed assembly video instructions. Your model may be different from the one pictured, but the general rules are the same. If you run in to trouble we are a phone call away, ready to help. If you still think that this project is not for you you can hire the local handyman and for them it will be just a breeze to assemble your shed. If you are hiring someone already to make you a foundation and install the roofing, they might just as well assemble your shed - it is the easiest of the three.
After assembly you will definitely have the feeling of accomplishment. All friends and neighbors will now see you as an experienced carpenter!
Here are simple step by step directions that shows how easy and fun is to do this.
Step: 1
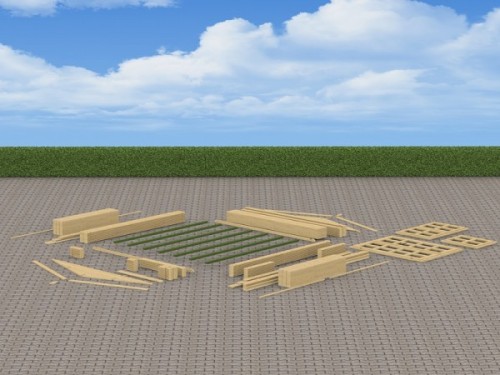 Firstly, you want to organize all of your materials, and you want to ensure that you prepare the proper and most sound foundation to work with. Now, you might use concrete, slab, solid block styles, treated wood joint or even piers; it is totally up to you. Bear in mind here, with technical jargon and all in mind, the foundation is the heart of this structure so it must be perfectly level and balanced. With regards to most kits that utilize treated joints, these are excellent for solid surfaces only. If you are going to do your assembly on top of grass then you must go with the bigger joints to bring stability. Consider something like: 4×4’s or 2×6’s to secure your shed on.
Step: 2
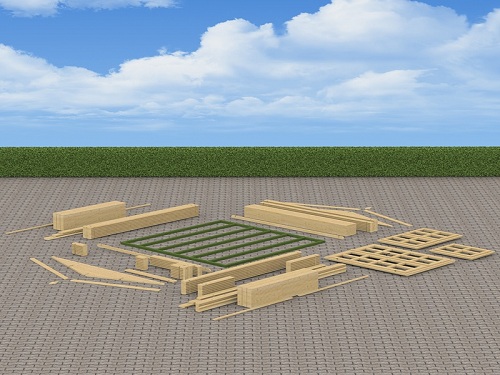 Your second step to this process should be in attaching the joints to the proper slab, or to a ground surface. In this respect your shed will have a strong anchoring, allowing for it to maintain itself against huge wind gusts. Now, you might want to utilize ground anchors, or even a concrete anchor style. All of this will vary depending on the foundation you’ve gone with.
Step: 3
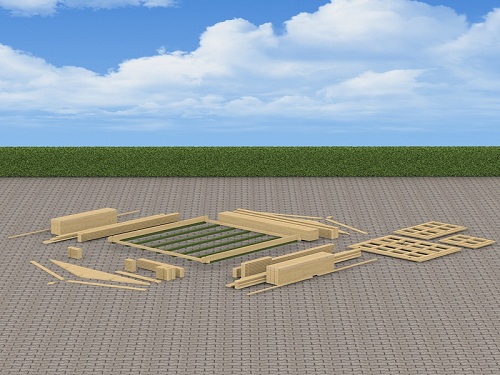 Once your foundation is secure you are going to finally begin building your structure. The first two parts are known as starters. These represent regular boards which are simply split in half. You would screw them into the joints. As mentioned in the beginning of this, it is good thinking to organize all your materials beforehand so that the assembly process will go fast and smooth. This phase can be particularly amusing in some respects because the shape develops so rapidly, with only a small fraction of materials being utilized.
Step: 4
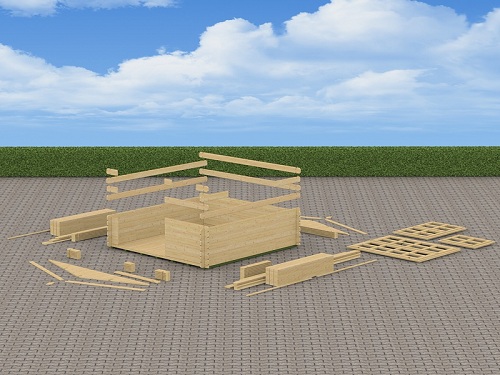 At this step you want to count your layers and make sure you have the appropriate number. Because of the ease of assembly it is fairly easy to miss items with the doors and windows, so it is always best to double check the layers.
Step: 5
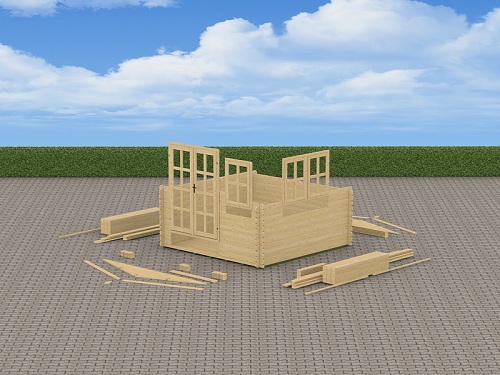 Installing the doors and windows is one of the most easy of steps too many. The reason is that you’ll simply slide these into the proper openings and then voila! That is it! There is no nailing or screwing to the frame, and they will sit firmly in the frame just fine. Of course, you have to construct a door frame for the door! With regard to the frame, you need to take 4 of the long screws and place these in predrilled holes. The doors come in after 4 layers have been attributed onto the structure. These allows for ease of sliding the main door into place, simply because you won’t have to reach very high to do so.
Step: 6
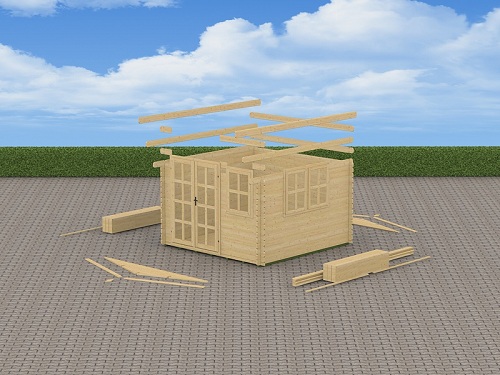 Now, once the windows and doors are securely slid into proper place and fitting well, you want to focus on the layers again. These determine how far you need to go up in the construction of the shed. You will have excess parts remaining, but don’t worry about these. Just focus on the layers, as mentioned.
Step: 7
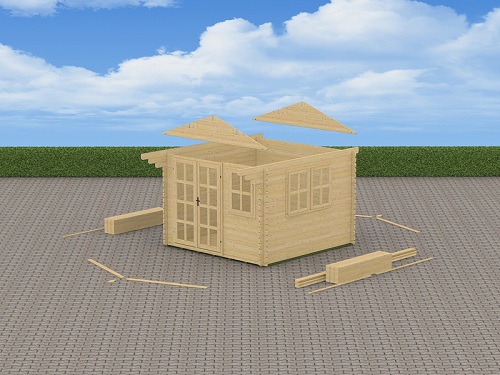 When examining the construction, if you see that it appears to be a little loose in places then you can use the gables to start tightening it up. These can just be slid into their correct spots.
Step:8
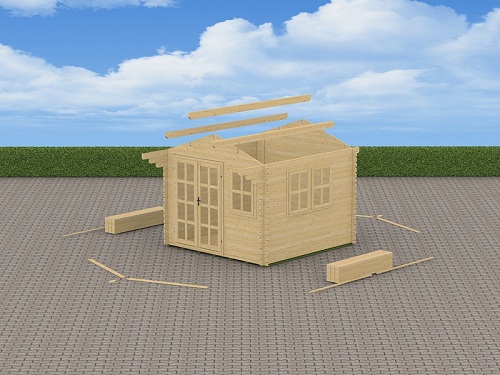 The beams that you’ll be putting to use in this step are the heaviest parts because they happen to be the thickest and the longest. These also just slide into their coordinating positions, so pay careful attention to the right left and center ones to get them positioned correctly.
Step:9
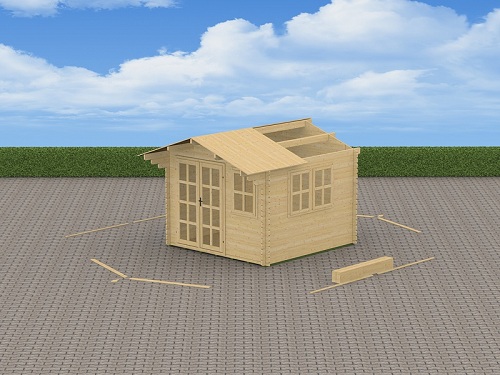 Now you want to turn your attention to the roof boards. These have to be put together in a very precise way. You need to start from the front and ensure that the very first and the very last boards are securely nailed down. If you are going to be screwing them in instead, using a power screwdriver can ensure they go in good and tight. You might need to trim excess wood from the edges too, just to make the beams even.
Step: 10
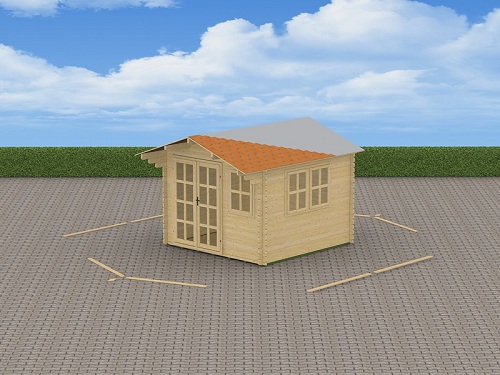 With regard to shingles, you are going to want to invest in felt paper as it is the best. For the fascia board you can put this on directly after the shingles, making it much simpler. The nails you use for shingles should be no larger than 1inch. If you go with anything bigger then the ends of the nails would be visible from inside the shed, so that is not a beneficial thing.
Step:11
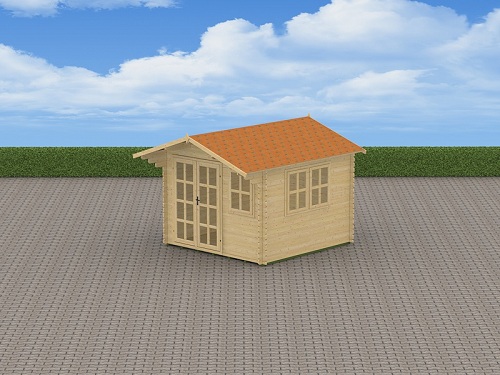 And finality, you’ve completed what is hopefully a beautiful, well balanced structured shed in your garden. Your friends and family probably won’t believe that you assembled it yourself, but feel proud! You’ve achieved a great creative stand in shed design now. The only thing you might want to do now is stain or paint it, that is totally up to you. If you do want a designer look then you can go with a three scheme matching color option, with one being for the door and window trim, the second for the roof beams and floors, and the final one for the rest of the structure.
